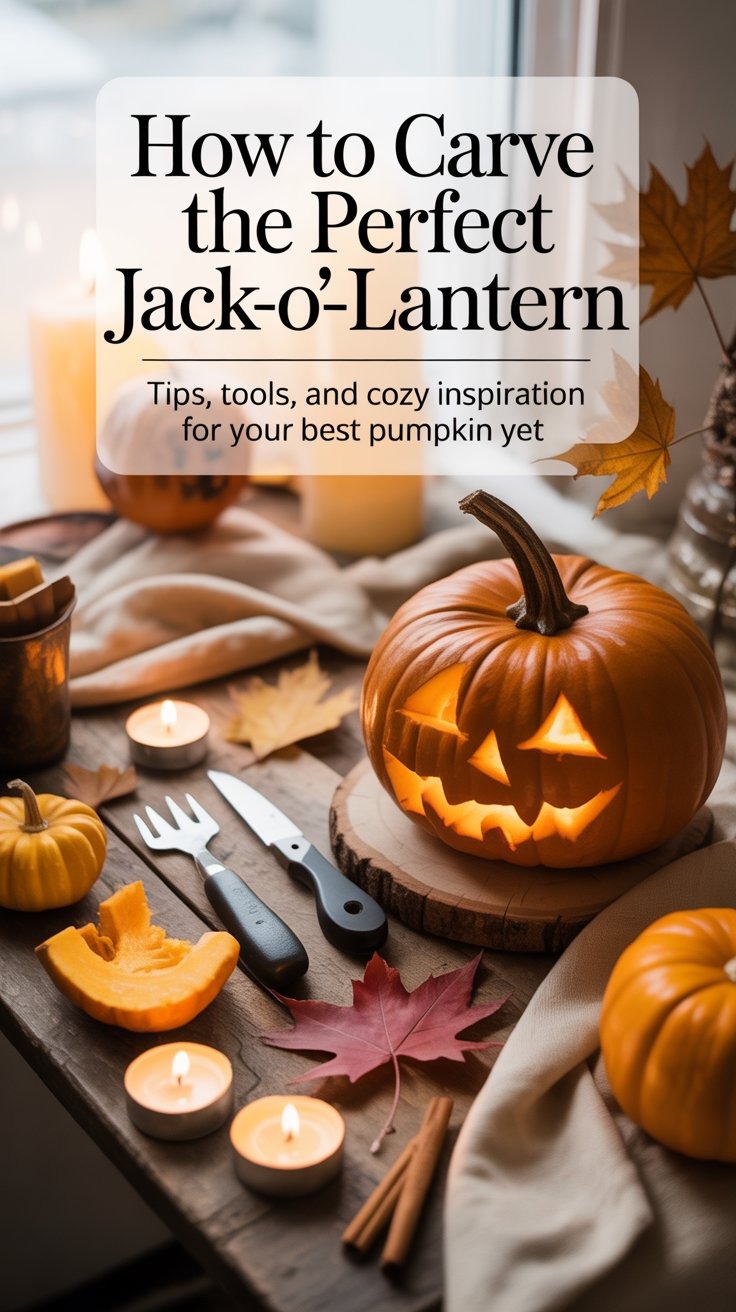
How to Carve the Perfect Jack-o'-Lantern: 5 Tips and Ideas
DIY AND CRAFTS
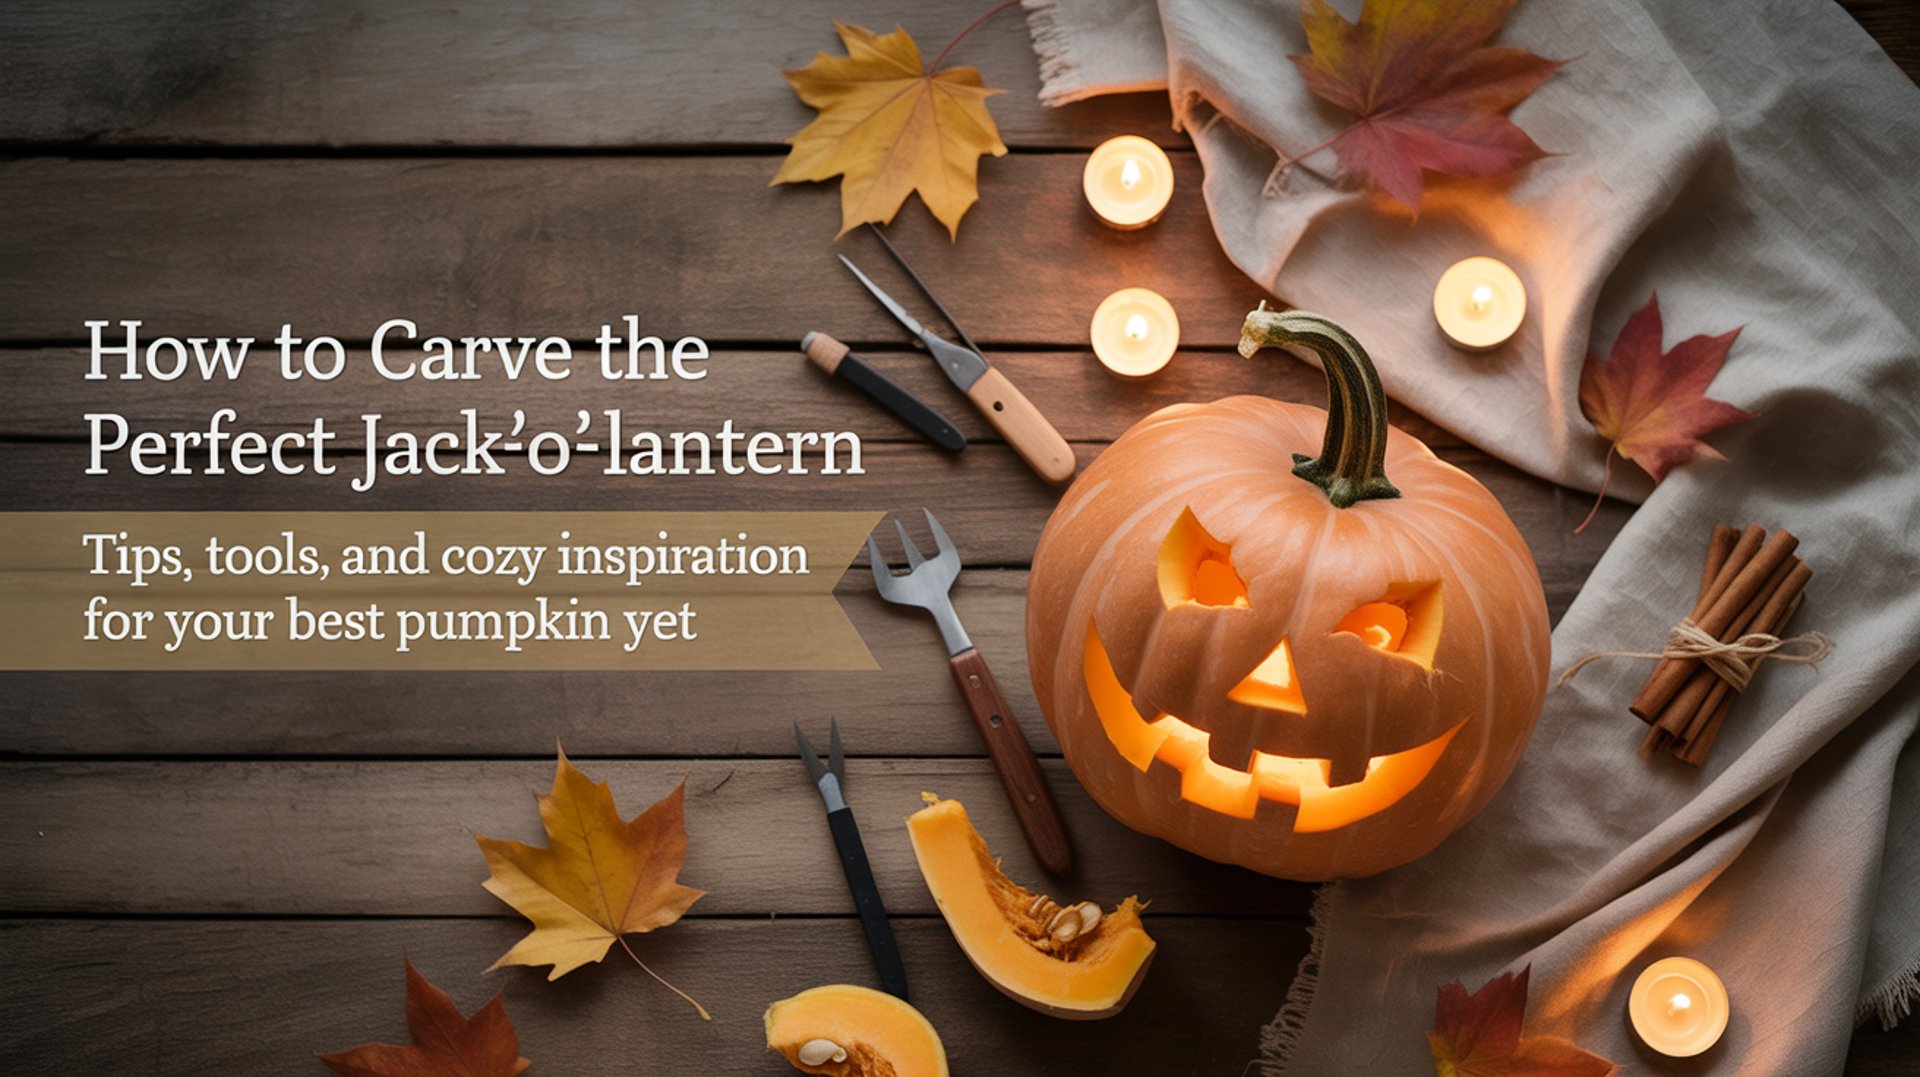
There’s something almost sacred about the glow of a freshly carved pumpkin — a flicker of autumn’s spirit captured in candlelight. Whether you’re crafting a spooky face or a delicate design, the secret to the perfect jack-o’-lantern lies in the little things: the texture of the rind, the curve of the knife, and the imagination that dances behind the flicker.
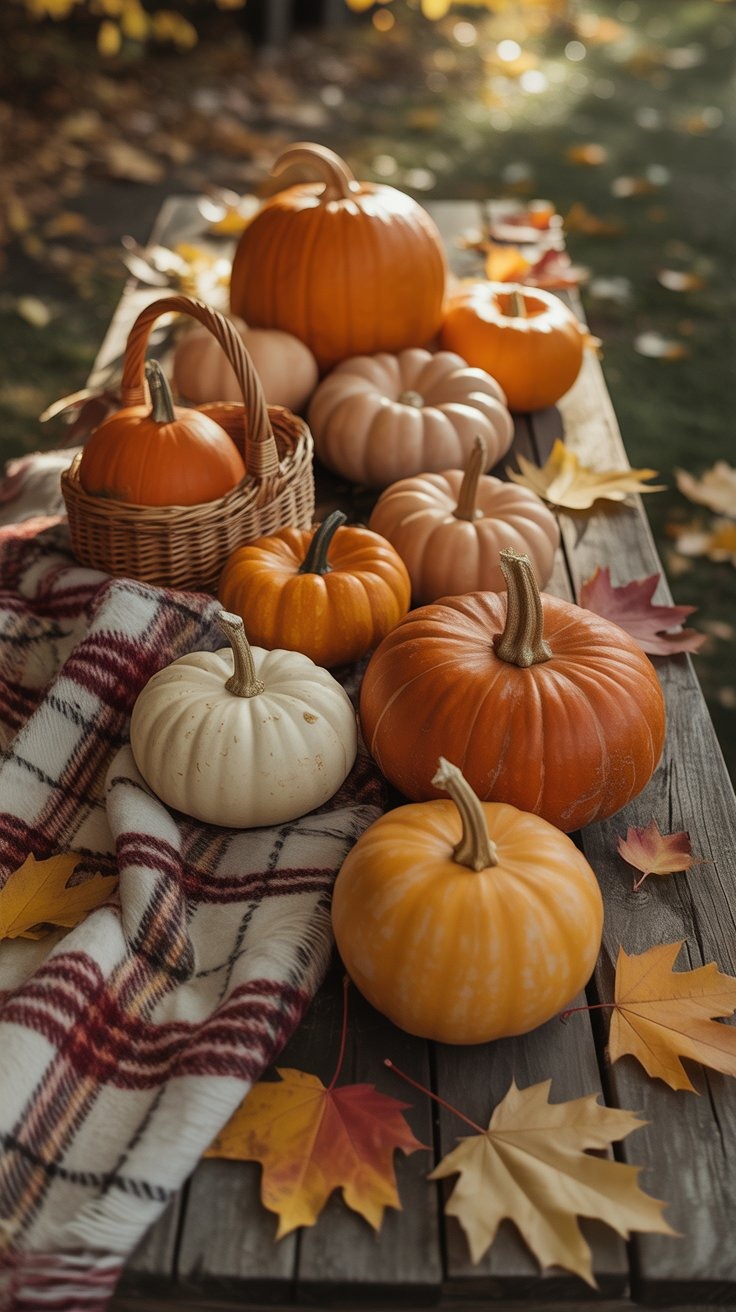
1. Choose the Right Pumpkin — Your Canvas of Autumn
Not all pumpkins are created equal. For carving, you’ll want one that feels firm, smooth, and slightly flat on one side so it sits steady. Avoid any with soft spots or blemishes — they’ll rot quickly once carved.
How to do it:
Set your pumpkins on a flat surface and gently press the skin — it should feel solid. Look for a strong stem (a green one means it’s fresh) and pick a size that fits your design idea.
Shopping List:
Fresh carving pumpkin (medium to large)
Pumpkin selection guide or reference images (optional)
Garden gloves (for checking firmness)

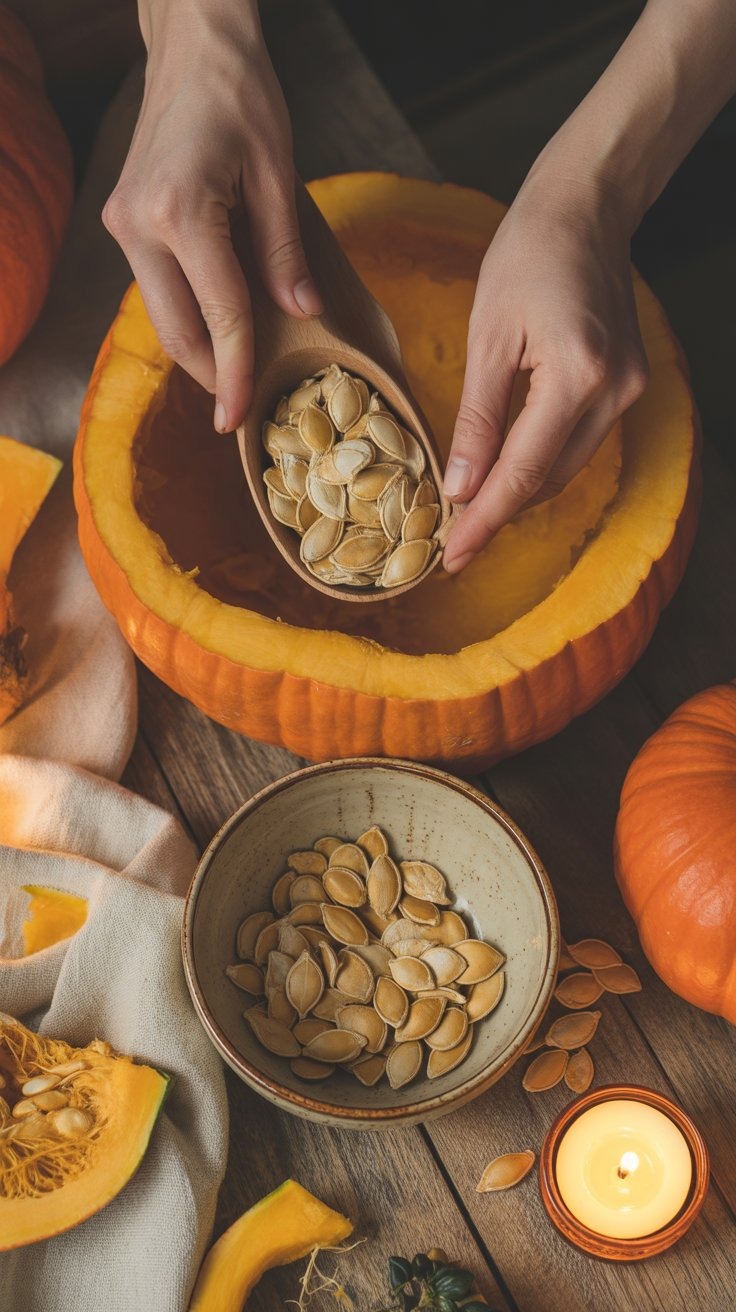
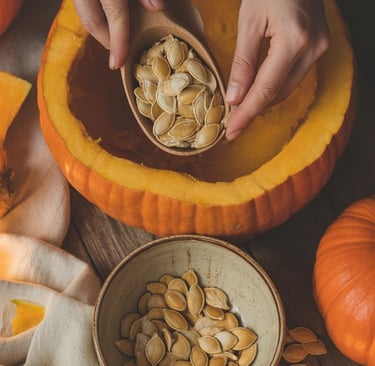
2. Prep and Clean Like a Pro
Before the magic begins, the pumpkin needs a clean slate. A little prep goes a long way in keeping your jack-o’-lantern fresh longer.
How to do it:
Cut a circular lid around the stem at an inward angle (so it doesn’t fall through later). Scoop out the seeds and stringy pulp — an ice cream scoop or metal spoon works perfectly. For extra longevity, rub the interior and edges with a bit of petroleum jelly or vegetable oil.
Shopping List:
Sharp serrated knife or pumpkin carving saw
Large metal spoon or scoop
Bowl (for seeds)
Paper towels
Petroleum jelly or cooking oil
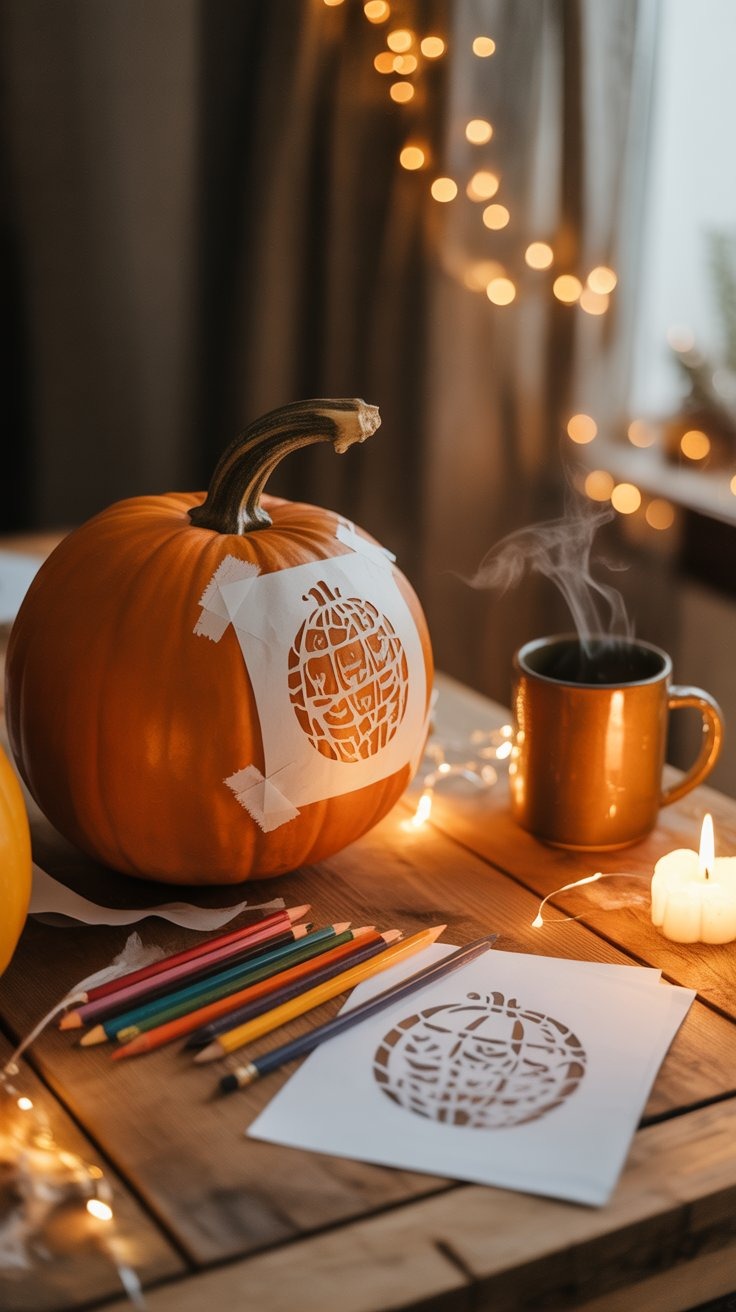
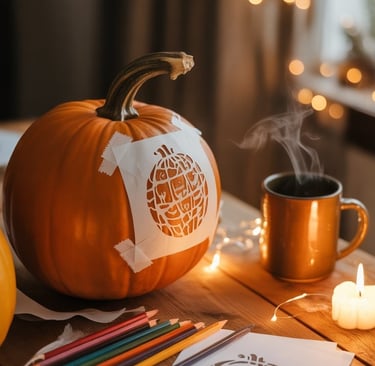
3. Sketch and Transfer Your Design
Think of this step as your pumpkin’s personality check. Whether you prefer classic smiles or eerie silhouettes, sketching your design first will help you carve with confidence.
How to do it:
Draw your design on paper or print a template. Tape it to the pumpkin and use a pin or poking tool to trace the outline through the paper. Remove the paper, and you’ll see tiny dots as your carving guide.
Shopping List:
Pencil and paper (or printed stencil)
Painter’s tape
Pin tool or thumbtack
Marker for refining outlines
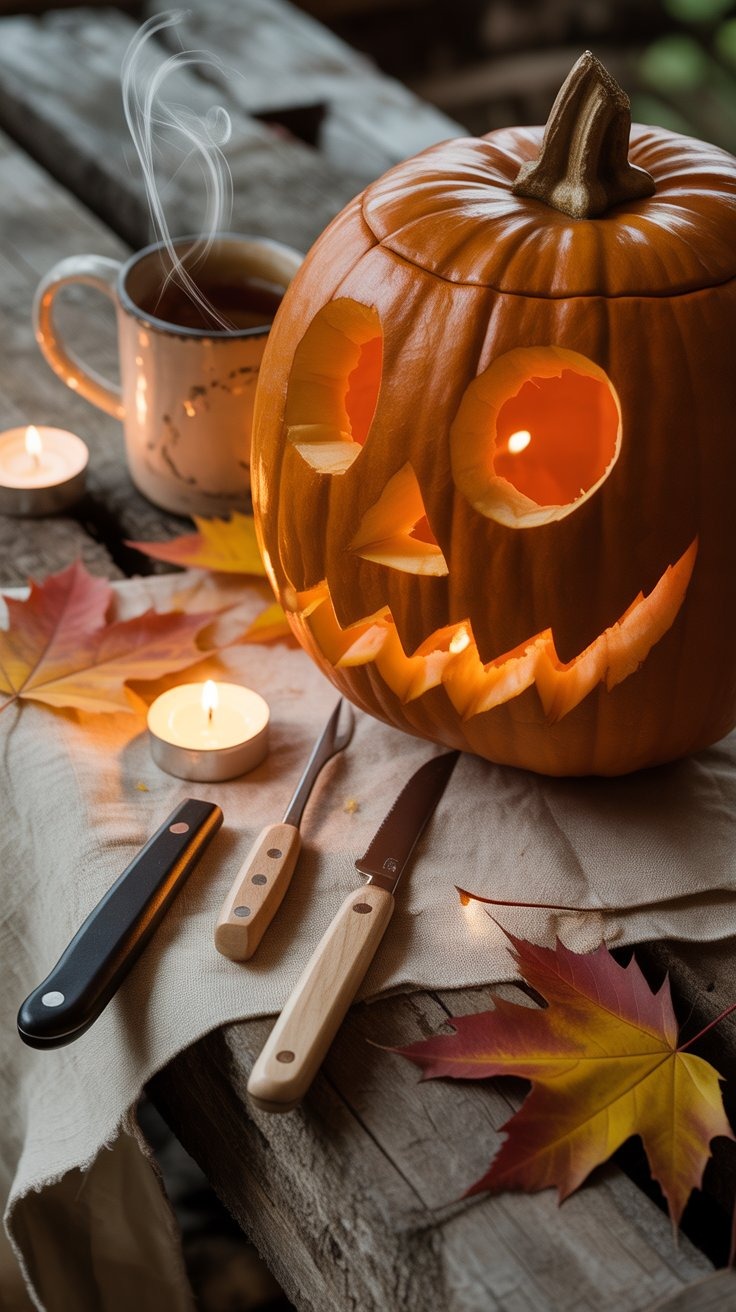
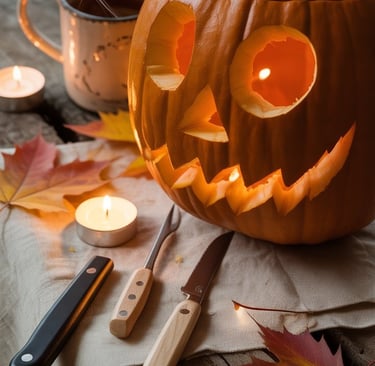
4. Carve with Care — It’s All in the Details
Carving isn’t a race; it’s a cozy little ritual. Take your time with gentle, sawing motions and always carve away from yourself. For intricate shapes, start with the smallest sections first.
How to do it:
Use a pumpkin carving kit for control, especially on curves. Smooth out rough edges with a small paring knife or even a nail file for clean, professional-looking lines.
Shopping List:
Pumpkin carving kit (saw, scraper, detail tools)
Paring knife
Nail file (for smoothing)
Damp cloth (for wiping away marker lines)
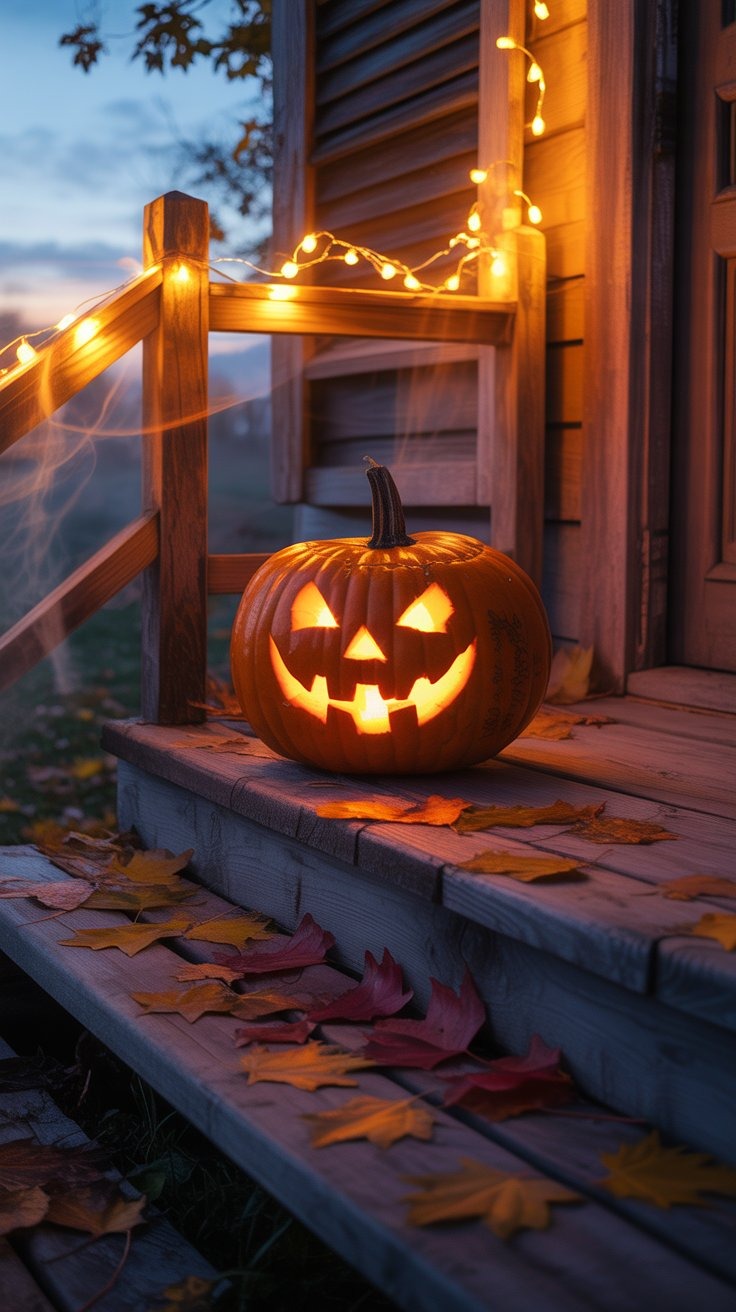
5. Light It Up and Make It Last
When the sun sets and your masterpiece is ready, bring it to life with a warm glow. Traditional candles give that flickering charm, while LED tea lights or fairy lights are a safer, longer-lasting option.
How to do it:
Place your light source inside and admire the glow. For outdoor displays, spritz your pumpkin with diluted vinegar daily to keep mold away.
Shopping List:
Tea lights, LED candles, or fairy lights
Spray bottle (with water and vinegar mix)
Tray or plate (for stability under the pumpkin)

Cozy Wrap-Up
Carving a jack-o’-lantern is more than just a Halloween tradition — it’s an art form that celebrates imagination, patience, and the quiet joy of creating something by hand. So turn on your favorite autumn playlist, light a candle, and let your creativity glow through every cut and curve.
Ready to carve your own magic?
Save this post, share your creation, and tag #TheCozyEditHalloween so we can admire your cozy lanterns lighting up the night.